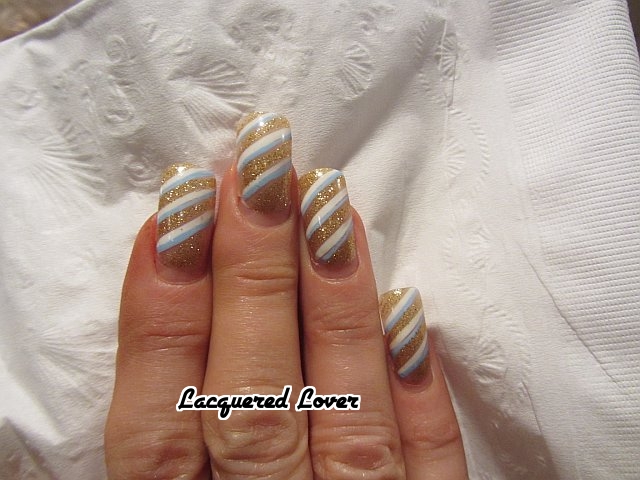
Good morning my fellow lacquered lovers! Happy Tuesday to you all! I hope you are all having a lovely week so far! Today, I have a really cool post for you. You have seen many of the Sally Hansen Salon Effects here on my blog because I love how cute they are and how long they last. Today, I have their new gel strips! They recently released starter kits with both gel polish and gel strips that come with a small led light, a gel top coat and a gel polish or strips. Now, without further ado, on to the polish!


 Above: Sally Hansen Insta Gel Strips in Bonus Check
These pictures were all taken FIVE days after application and they are still perfect! Here's how the gel strips work. You start off by applying them the same way you would the normal Salon Effects. I personally like to use base coat beneath them but you don't have to. You choose the strip that best fits your nail, smooth the strip down and file off the excess. Since my nails are small, I was able to get away with only using one of the two packets it comes with. Then, you will go one nail at a time and put on the gel top coat that comes in each packet and cure the nails one at a time under the LED lamp that comes with the starter kit.

 Above: Sally Hansen LED lamp
You just plug the lamp into the wall and put one nail under the light and press the button at the top. The lamp is timed to cure the gel for each finger. Once the light goes off, put the gel top coat on the next nail and repeat! Once you are all finished (which takes less than 10 minutes) then use the nail cleanser pads that come in each box and wipe off any sticky residue that's left on the nail and voila! You have a gorgeous, shiny gel manicure!
The starter set will cost you less than $30 and will come with the led lamp, cuticle sticks, gel top coat, nail cleanser pads, nail file and buffer as well as either one bottle of the gel nail polish or the gel nail strips, whichever you like. Any additional colors of polish or patterns of gel strips will cost you around $12-$13 depending on where you buy it. They have a ton of different colors and designs including the hounds tooth above, glitter, lace and more! Plus they really did hold up well! 5 days and not a chip or tip wear in sight! These are definitely great when you don't have time to change your polish or when you're going on vacation! Here's one more picture that I had put on Instagram holding my dog's paw with them:

All in all, I would recommend these. They were super easy to use, removal was pretty easy with the foil method and they do actually last longer than even the normal Salon Effects. The $29 for the starter kit is a bit high but if you like the colors it comes with, then it's definitely worth it. Plus I love that you can reuse the light every time and just have to get different strips or polish! The Sally Hansen Insta gel Polish and Strips kits are now available where Sally Hansen is sold.
What did you think of this set? Must have?
The products in this post were sent to me for my unbiased review. Please see my disclosure policy for more information.


These pictures were all taken FIVE days after application and they are still perfect! Here's how the gel strips work. You start off by applying them the same way you would the normal Salon Effects. I personally like to use base coat beneath them but you don't have to. You choose the strip that best fits your nail, smooth the strip down and file off the excess. Since my nails are small, I was able to get away with only using one of the two packets it comes with. Then, you will go one nail at a time and put on the gel top coat that comes in each packet and cure the nails one at a time under the LED lamp that comes with the starter kit.


You just plug the lamp into the wall and put one nail under the light and press the button at the top. The lamp is timed to cure the gel for each finger. Once the light goes off, put the gel top coat on the next nail and repeat! Once you are all finished (which takes less than 10 minutes) then use the nail cleanser pads that come in each box and wipe off any sticky residue that's left on the nail and voila! You have a gorgeous, shiny gel manicure!
The starter set will cost you less than $30 and will come with the led lamp, cuticle sticks, gel top coat, nail cleanser pads, nail file and buffer as well as either one bottle of the gel nail polish or the gel nail strips, whichever you like. Any additional colors of polish or patterns of gel strips will cost you around $12-$13 depending on where you buy it. They have a ton of different colors and designs including the hounds tooth above, glitter, lace and more! Plus they really did hold up well! 5 days and not a chip or tip wear in sight! These are definitely great when you don't have time to change your polish or when you're going on vacation! Here's one more picture that I had put on Instagram holding my dog's paw with them:

All in all, I would recommend these. They were super easy to use, removal was pretty easy with the foil method and they do actually last longer than even the normal Salon Effects. The $29 for the starter kit is a bit high but if you like the colors it comes with, then it's definitely worth it. Plus I love that you can reuse the light every time and just have to get different strips or polish! The Sally Hansen Insta gel Polish and Strips kits are now available where Sally Hansen is sold.
What did you think of this set? Must have?
The products in this post were sent to me for my unbiased review. Please see my disclosure policy for more information.